


We are going to build a DAPP that lets users connect their wallets and mint NFTs from our contract Since I don't have money at the moment, lets build it on the testnet :)
Overview of the entire process
ERC721 contract will be deployed on the testnet.
For the frontend we'll be using React.
For wallet integration we'll be using RainbowKit (no worries if you don't know wtf it is).
we'll also be using Wagmi (its basically a library that is a collection of react hooks containing everything you need to start working with react).
ERC721 contract.
you by now already know how to write a basic ERC721 contract. if you dont you can either go to Openzeppline Wizard and copy the boilerplate. or you can copy my code if you don't have the patience to set up an IPFS metadata pointing to the image you want to mint.
The following is the metadata that I've published. You can get the URI of it in the code as well.
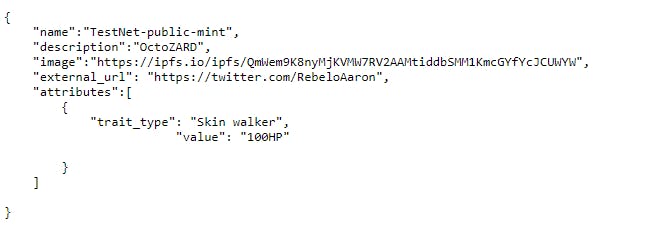
Next open https://remix.ethereum.org/ and type out the following code.
// SPDX-License-Identifier: MIT
pragma solidity ^0.8.4;

import "@openzeppelin/contracts@4.7.3/token/ERC721/ERC721.sol";
import "@openzeppelin/contracts@4.7.3/token/ERC721/extensions/ERC721URIStorage.sol";
import "@openzeppelin/contracts@4.7.3/access/Ownable.sol";
import "@openzeppelin/contracts@4.7.3/utils/Counters.sol";

contract Blocktrain is ERC721, ERC721URIStorage, Ownable {

    //all the functions of COunters are forwarded to COunters.Counter
    using Counters for Counters.Counter;

    //instead of saying Counters.counter all the time make it a variable for easy access
    Counters.Counter private _tokenIdCounter;

    //how much does the NFT supposed to cost
    uint256 public mintRate = 0.00022 ether;

    constructor() ERC721("OctoZard", "OZ3") {}

    //the _baseURI points to the metadata that I hosted on pinata
    function _baseURI() internal pure override returns (string memory) {
        return "ipfs://Qmf8ZeCdFeiJbrHX8oDejMHXRN6htaA9TmdvAe741tnUg8/";
    }

    //if you've got the required testnet cash, buy it.
    function safeMint() public payable {
        require(msg.value >= mintRate, "Not enough ether");

        uint256 tokenId = _tokenIdCounter.current();
        _tokenIdCounter.increment();
        //token Id will start with one
        _safeMint(msg.sender, tokenId);
    }

    // The following functions are overrides required by Solidity.
    function _burn(uint256 tokenId) internal override(ERC721, ERC721URIStorage) {
        super._burn(tokenId);
    }

    function tokenURI(uint256 tokenId)
        public
        view
        override(ERC721, ERC721URIStorage)
        returns (string memory)
    {
        require(_exists(tokenId), "Token doesn't exists");
        return string(abi.encodePacked(_baseURI(), Strings.toString(tokenId), '.json'));
    }
}
The address of the contract I published is "0x8a38091418d02Fc78EEB7Bb1843C108575DeFcf9"
Creating React App for minting our NFT!!
Now this is where shit gets real!!
Create a basic template for a react-app
npx create-react-app nft-minting-dappInstall dependencies
  cd nft-minting-dapp //this moves into the directory
  npm install -D tailwindcss postcss autoprefixer //installs the dependencies (-D is shorthand for --save-dev )
  npx tailwindcss init -p
  /*
  * npx is a tool that installs and runs the tailwind package without installing it globally
  * tailwindcss is a css framework that helps to build CSS faster
  * init creates a default config file.
  * -p is used to install POSTcss which is a library that optimizeses CSS across different/older browser.
  */
Replace tailwind.config.js with the following code
  /** @type {import('tailwindcss').Config} */
  module.exports = {
    content: [
      "./src/**/*.{js,jsx,ts,tsx}",
    ],
    theme: {
      extend: {},
    },
    plugins: [],
  }
Add the following in the ./src/index.css
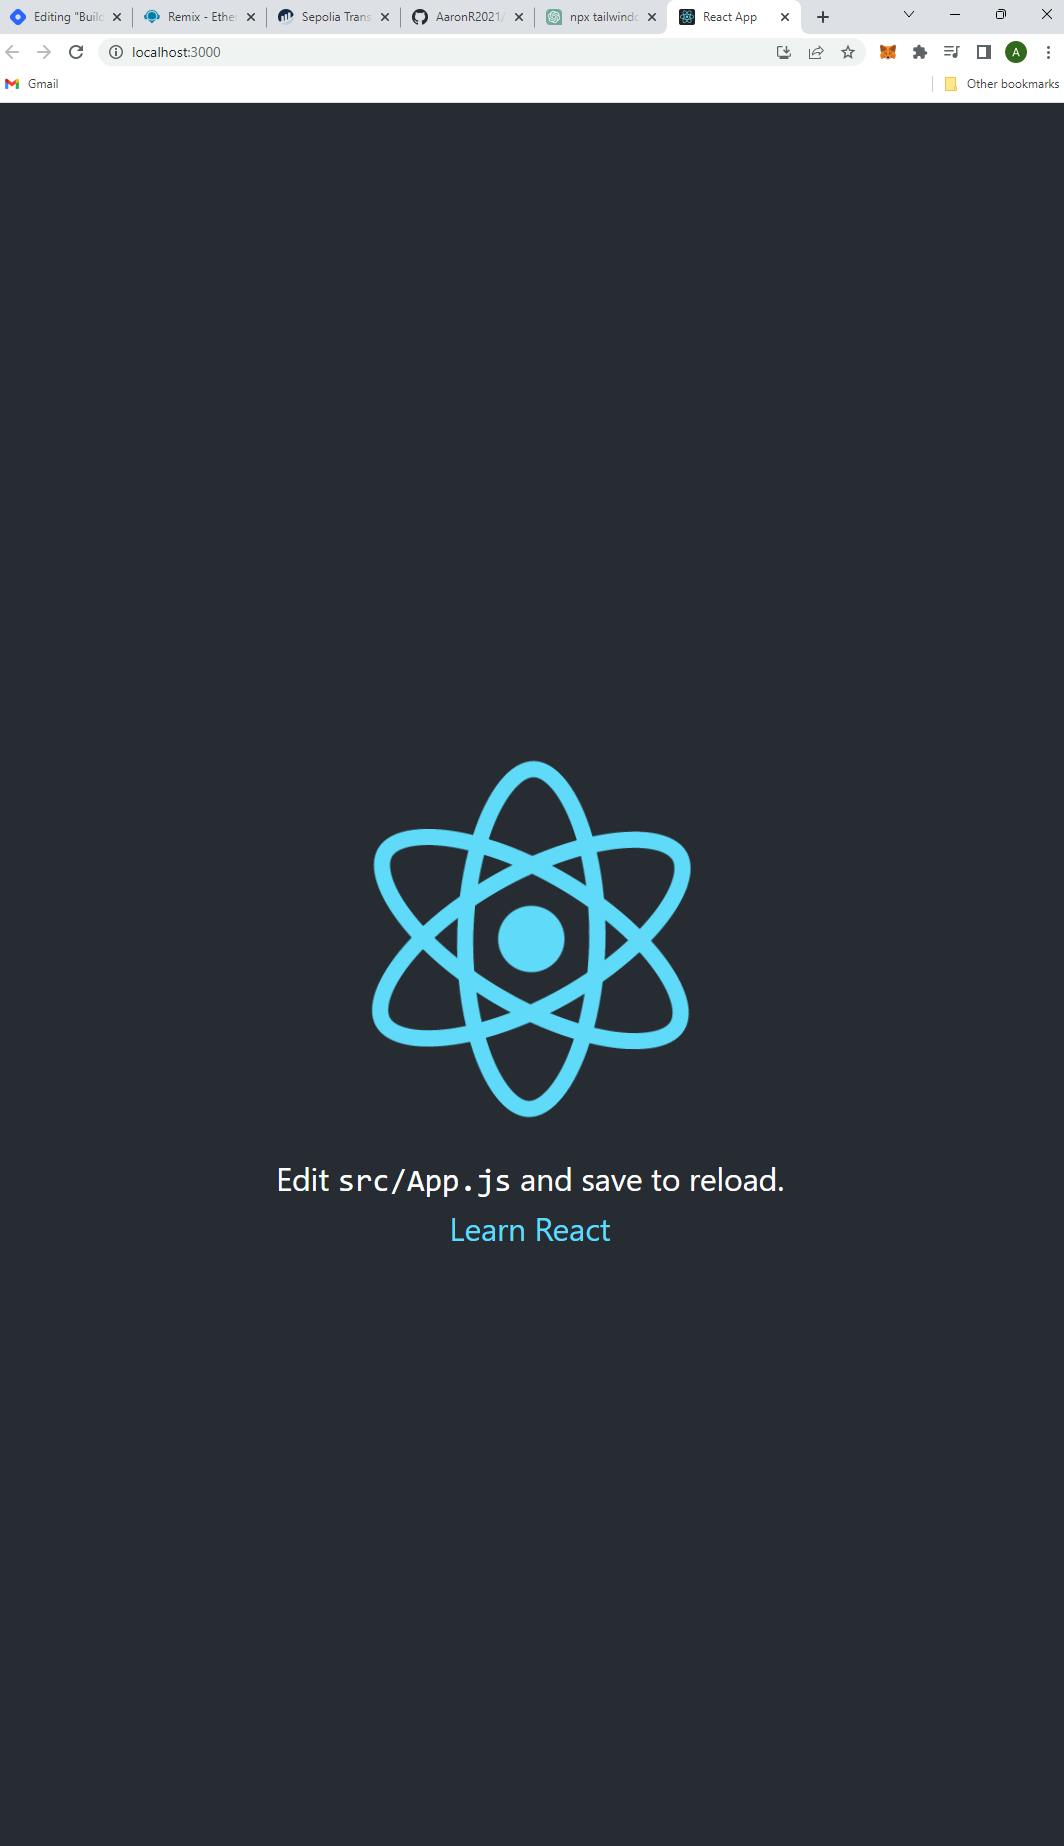
  @tailwind base;
  @tailwind components;
  @tailwind utilities;
  //you are basically importing the above files in the .css files.
Run the following cmd
npm start //starts the react applicationYou'll get a screen that looks like this
delete the following files as you wont be needing it
- App.css
- App.test.js
- Logo.svgGet rid of the unwanted App.js content below the div with the classname "App".
replace it with something like this
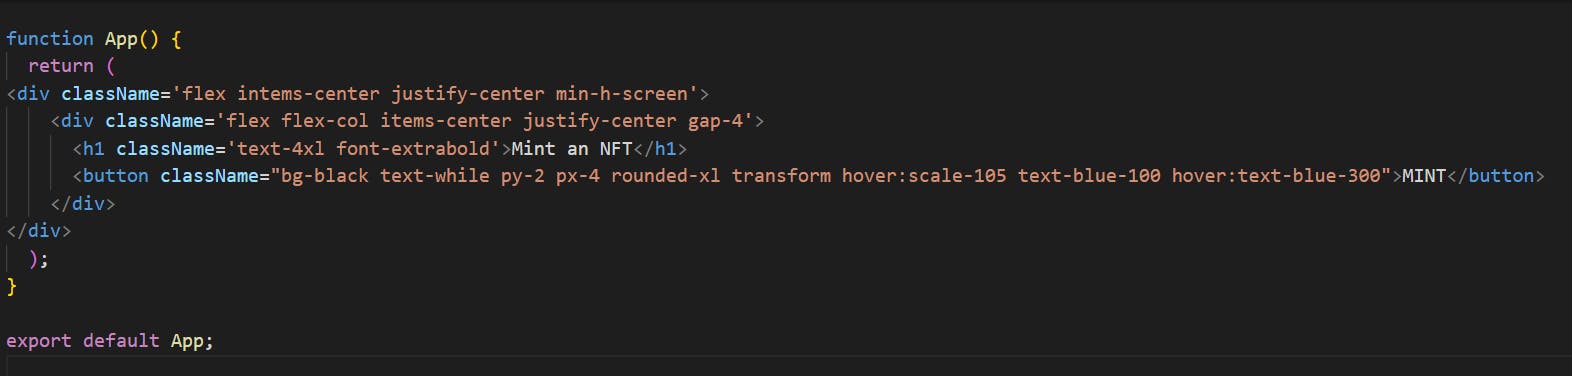
The output should be something like this

Setup wallet adapter
So we are gonna use Rainbow Kit. Now let's install a few packets shown below
npm install @rainbow-me/rainbowkit@latest wagmi ethers@^5Wagmi and ethers are other dependencies for rainbowkit.
Import rainbowKit, wagmi, and ethers. in src/index.js
  import '@rainbow-me/rainbowkit/styles.css';

  import {
    getDefaultWallets,
    RainbowKitProvider,
  } from '@rainbow-me/rainbowkit';
  import { alchemyProvider } from 'wagmi/providers/alchemy';
  import { publicProvider } from 'wagmi/providers/public';
add the following to configure your given chain, to generate the required connectors.
  const { chains, provider } = configureChains(
  //!VERYYY IMPORTNANT
  //These are the chains that you'll be getting an //option of. if your working with sepolia use //chain.sepolia
    [chain.mainnet, chain.polygon, chain.sepolia, chain.polygonMumbai],
    [
      alchemyProvider({ apiKey: process.env.ALCHEMY_ID }),
      publicProvider()
    ]
  );

  const { connectors } = getDefaultWallets({
    appName: 'My NFT Minting DAPP',
    chains
  });

  const wagmiClient = createClient({
    autoConnect: true,
    connectors,
    provider
  })
get your alchemy Id and paste it in your env file. so process.env.ALCHEMY_ID can access it.
delete this before publishing this blog : _fiz9yCF6yQly5xHLtX1XANU5Bqw3z0l
Then wrap your application with
RainbowKitProviderand[WagmiConfig](https://wagmi.sh/docs/provider).const root = ReactDOM.createRoot(document.getElementById('root')); root.render( <React.StrictMode> <WagmiConfig client={wagmiClient}> <RainbowKitProvider chains={chains}> <App /> </RainbowKitProvider> </WagmiConfig> </React.StrictMode> );Once this is done we should be able to use
ConnectWallethook from rainbowkit to let users connect their wallet and use our App.jsimport { ConnectButton } from '@rainbow-me/rainbowkit'; import { useAccount } from 'wagmi' function App() { const { address } = useAccount() return ( <div> <div className='flex items-center justify-end p-2'> <ConnectButton /> </div> <div className="flex flex-col items-center justify-center min-h-[90vh] gap-4"> <h1 className="text-4xl font-extrabold">Mint an NFT</h1> { address ? ( <button className="bg-black text-white py-2 px-4 rounded-xl transform hover:scale-105"> Mint </button> ) : ( <ConnectButton /> ) } </div> </div> ); } export default App;
Connecting the React App to our contract address and Contract ABI.
write the following with your contract address on app.js
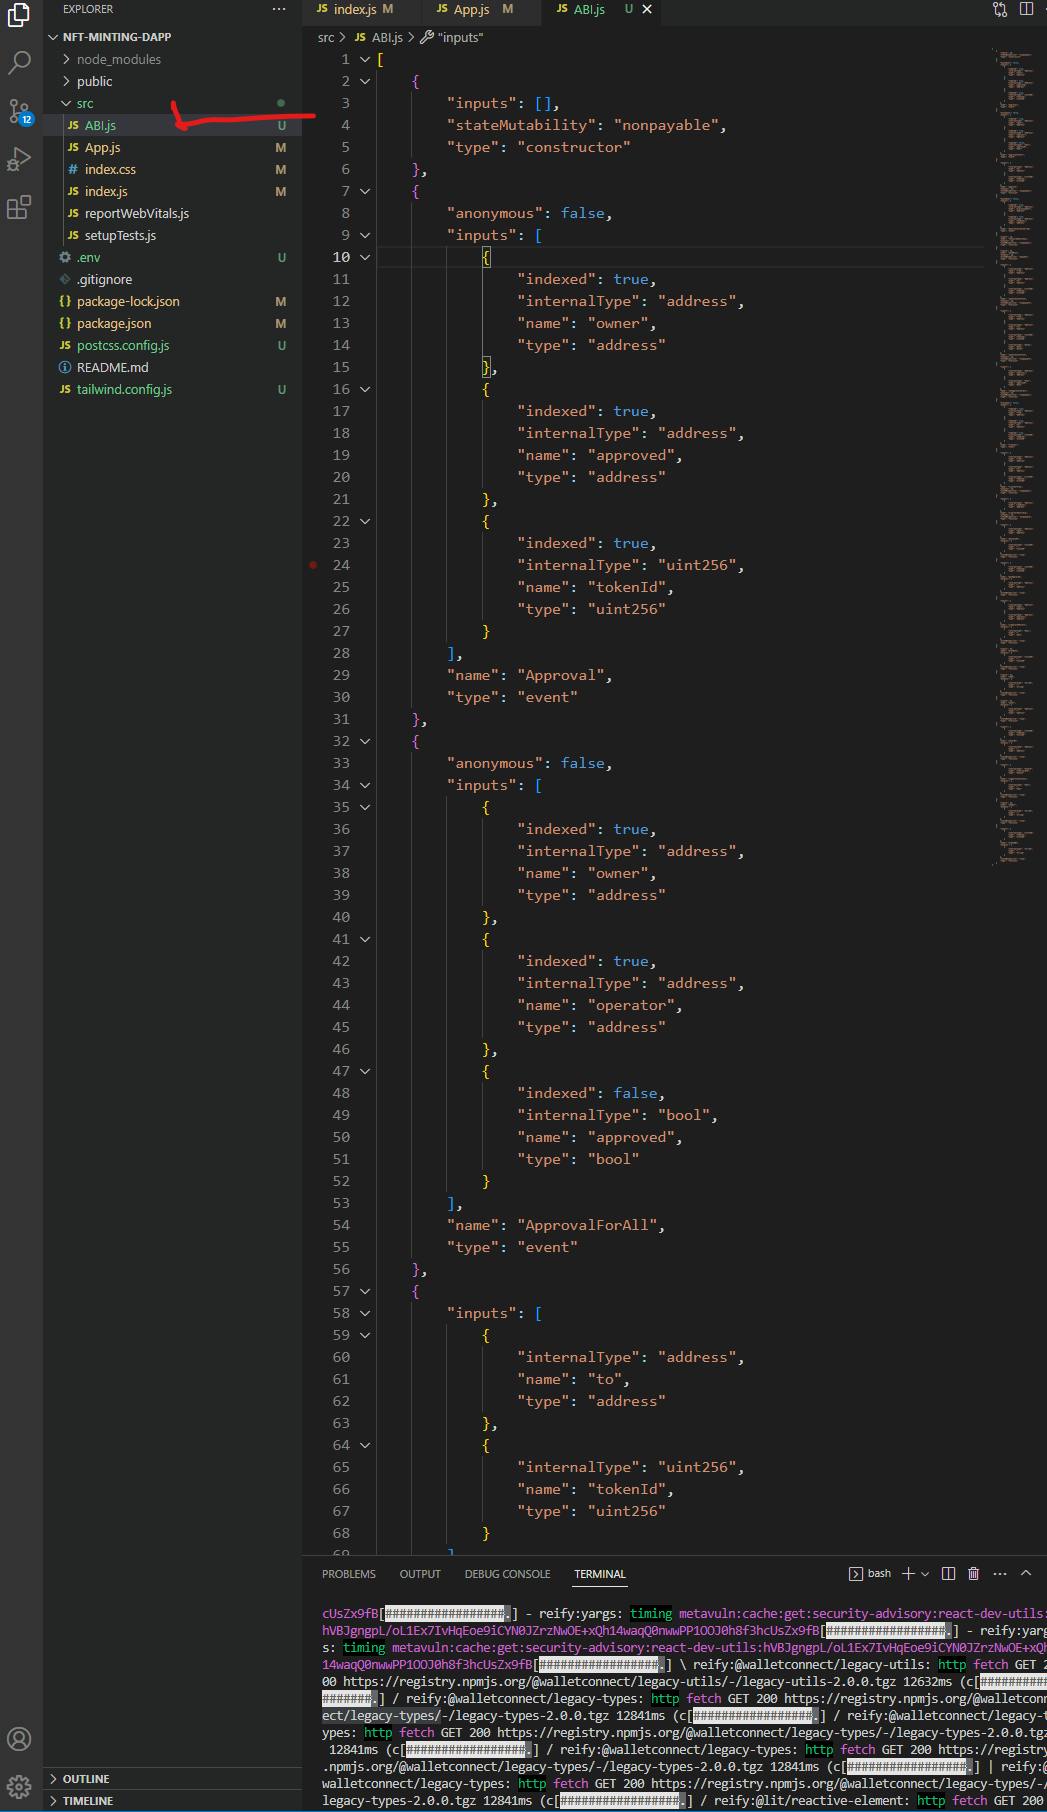
const CONTRACT_ADDRESS="0xbA33b8fc28818d114E9DAe4ed8B4d458d2D2bEA6"Copy the ABI of the contract

Go to ./src/ABI.js (you'll have to create that application) and paste what you copied from the above
Now you'll have to give access to this ABI, so our react application can interact with the following, in the app.js file
  import { useAccount, useContract, useSigner } from 'wagmi'

  function App() {

    const { address } = useAccount()

    //we need this hook to make transactions like minting the NFT
    const { data: signer } = useSigner()

    const contract = useContract({
      address: CONTRACT_ADDRESS,
      abi: CONTRACT_ABI,
      signerOrProvider: signer
    })

    console.log(contract)

  ...
const [mintRate, setMintRate] = useState("0") const [error, setError] = useState(false) const [tokenId, setTokenId] = useState(null) const [loading, setLoading] = useState(false) const getMint = async() => { const price = await contract.mintRate() setMintRate(price.toString()) //its in WEI } useEffect(() => { if(contract?.signer) { //it means you have permission to write on this contract //calls the getMint function to get the price getMint() } }, [contract]) const mintNft = async() => { setLoading(true) try { // value of safemint is sent in wei const mint = await contract.safeMint({ value: mintRate }) console.log(mint) //listen to this contract on the event called Transfer. contract.on("Transfer", (to, from, token) => { console.log(to, from, token) setTokenId(token.toString()) setLoading(false) }) } catch(err) { console.log(err) setError(err) setLoading(false) } } console.log("MINT ", mintRate) console.log("TOKEN ", tokenId) console.log("ERROR ", error) console.log("LOADING ", loading)
Its that simple ")